No products in the cart.

Most American homeowners in Pennsylvania understand that even the most luxurious wooden sliding doors lose their charm without proper care. Studies reveal that regular DIY maintenance can extend the lifespan of high-quality sliding doors by over 40 percent. With growing interest in preserving unique home features, knowing exactly which tools and steps to use is crucial for smooth operation and lasting beauty. Discover effective ways to keep your sliding doors in top condition and protect your investment for years to come.
Table of Contents
- Step 1: Gather Essential Cleaning And Repair Tools
- Step 2: Remove Dust And Debris From Tracks And Panels
- Step 3: Lubricate Rollers And Sliding Mechanisms
- Step 4: Adjust Alignment For Smooth Operation
- Step 5: Inspect And Replace Worn Hardware
Quick Summary
| Key Point | Explanation |
|---|---|
| 1. Assemble essential tools | Gather specific cleaning and repair tools to maintain sliding doors effectively. |
| 2. Regularly clean tracks | Monthly cleaning of tracks prevents dust buildup and ensures smooth door operation. |
| 3. Lubricate moving parts | Apply silicone-based lubricant every 3-6 months to maintain smooth sliding action. |
| 4. Check door alignment | Adjust alignment as needed to prevent uneven wear and improve door performance. |
| 5. Inspect and replace hardware | Regularly check for wear and replace components to sustain door safety and function. |
Step 1: Gather essential cleaning and repair tools
Preparing the right tools is critical for maintaining your sliding doors effectively and preventing potential damage during maintenance. You will need to assemble a specialized set of cleaning and repair equipment that allows you to clean, inspect, and repair your sliding door components with precision and care.
Start by collecting specialized cleaning tools for glass surfaces. Your toolkit should include soft lint-free microfiber cloths, a mild glass cleaner, soft-bristled brushes, rubber gloves, and a squeegee. For repair tasks, gather essential hardware tools like adjustable screwdrivers, pliers, a lubricant spray, replacement track rollers, and Allen wrenches. These tools will help you address common sliding door maintenance needs such as cleaning tracks, adjusting rollers, and fixing minor alignment issues.
Plan to store your maintenance toolkit in a dry accessible location near your sliding doors for quick access during routine cleaning or unexpected repairs. Group your tools together in a dedicated toolbox or storage container to keep everything organized and ready when you need them.
Here is a summary of essential tools and their primary purposes for sliding door maintenance:
| Tool Type | Example Items | Primary Purpose |
|---|---|---|
| Cleaning Tools | Microfiber cloths, squeegee, brushes | Streak-free glass cleaning |
| Protective Gear | Rubber gloves | Protects hands during cleaning |
| Hardware Tools | Screwdrivers, pliers, Allen wrenches | Adjusts and repairs door parts |
| Replacement Parts | Track rollers, brackets | Replaces worn or damaged hardware |
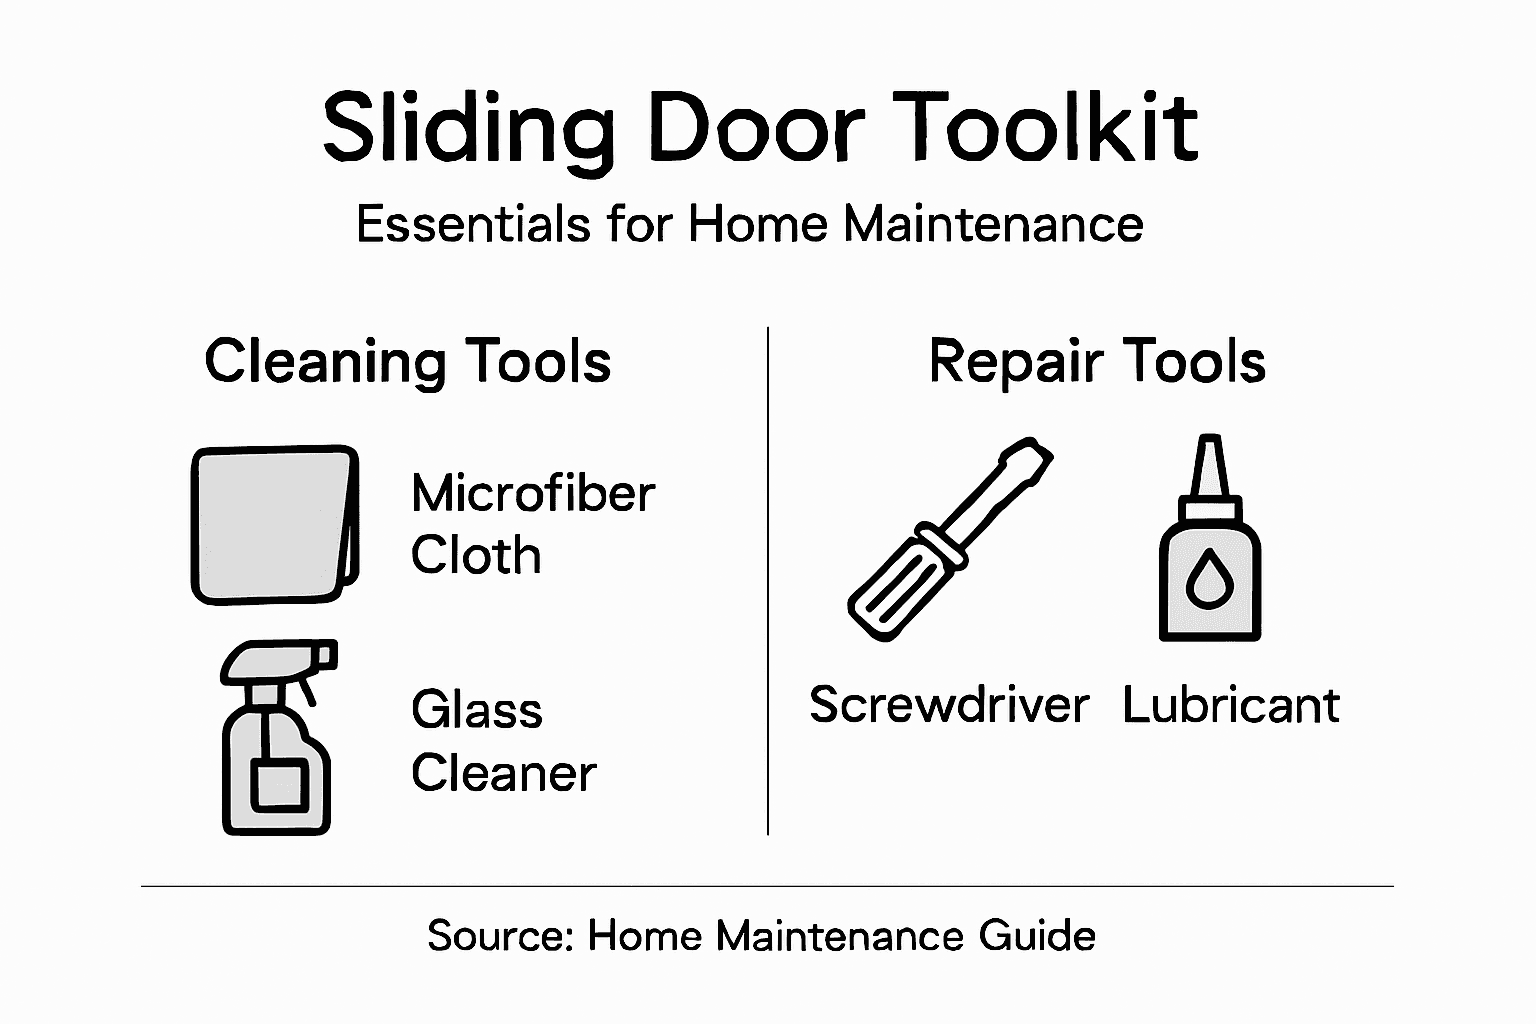
Pro tip: Consider investing in a soft microfiber cloth specifically designated for glass surfaces to prevent scratching and achieve streak-free cleaning results.
Step 2: Remove dust and debris from tracks and panels
Removing dust and debris from sliding door tracks and panels is crucial for maintaining smooth operation and preventing potential damage. This step will help you clean your sliding door components thoroughly and efficiently.
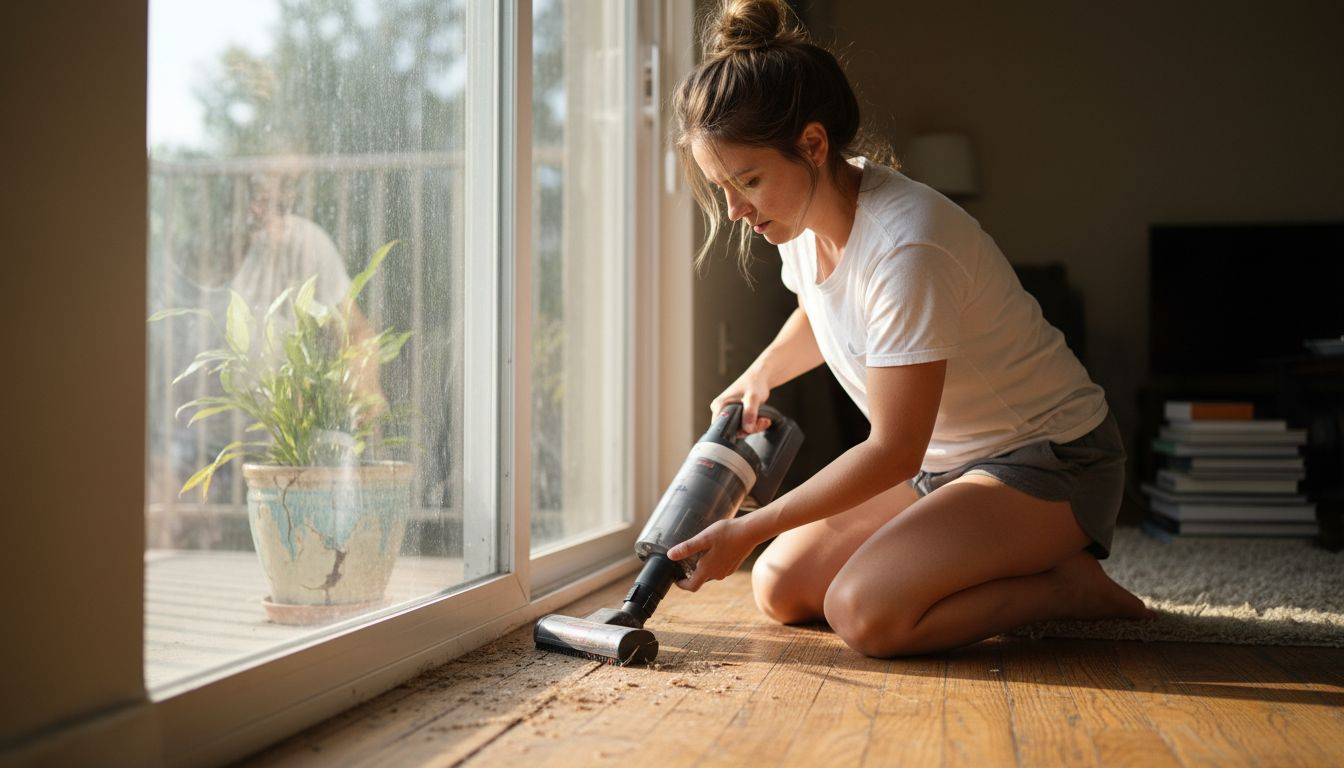
Begin by using specialized dust removal techniques that minimize dust dispersal. Start with a handheld vacuum equipped with a soft brush attachment to gently remove loose dirt from the door tracks and panel surfaces. Work systematically along the entire track length, paying extra attention to corners and crevices where dust tends to accumulate. For stubborn debris, use a soft microfiber cloth slightly dampened with water or a mild cleaning solution. Avoid using harsh chemicals or abrasive materials that could scratch the door surface or track mechanism.
After vacuuming, inspect the tracks for any remaining particles or buildup. Use compressed air in short bursts to dislodge hard-to-reach dust without risking damage to the door components. Wipe down the tracks and panels with a clean microfiber cloth to ensure a completely clean surface that allows for smooth sliding action.
Pro tip: Perform this cleaning process monthly to prevent dust buildup and maintain optimal sliding door performance.
Step 3: Adjust alignment for smooth operation
Adjusting your sliding door alignment is crucial for maintaining seamless operation and preventing unnecessary wear on rollers and tracks. This step will help you diagnose and correct minor misalignments that can cause sticking, dragging, or uneven movement.
Begin by identifying sliding door alignment techniques that address common positioning issues. Carefully examine the door tracks and check for any visible gaps or uneven surfaces. Most sliding doors have adjustment screws located near the rollers that allow you to raise or lower the door incrementally. Use a screwdriver to make small quarter turn adjustments, testing the door movement after each slight modification. Focus on creating an even, level path that allows the door to glide smoothly without binding or excessive resistance.
After making initial adjustments, open and close the door multiple times to verify the alignment. Listen for any unusual sounds and observe the door’s movement to ensure it slides evenly across the entire track. If you notice persistent alignment issues or significant resistance, you may need to check for underlying problems such as track damage or worn rollers that require more extensive repair.
Pro tip: Always make incremental adjustments and test the door movement after each small change to avoid overcorrecting the alignment.
Step 4: Inspect and replace worn hardware
Inspecting and replacing worn hardware is a critical step in maintaining the functionality and safety of your sliding doors. By carefully examining and addressing hardware issues early, you can prevent more significant problems and extend the lifespan of your door mechanism.
Begin by systematically evaluating door hardware components for signs of wear or damage. Check rollers for flat spots or uneven wear, inspect track guides for corrosion or misalignment, and examine screws and mounting brackets for looseness or rust. Pay special attention to the roller wheels, as these are often the first components to show significant wear. Use a flashlight to get a clear view of hard to reach areas, and gently wiggle each component to test for excessive play or movement that might indicate imminent failure.
When replacing hardware, ensure you purchase exact matching components for your specific sliding door model. Remove old hardware carefully, cleaning the mounting areas thoroughly before installing new parts. Tighten all mounting screws to the manufacturer’s recommended torque specifications, and test the door movement after each replacement to confirm proper installation and smooth operation. If you are uncertain about any aspect of the replacement process, consider consulting a professional to ensure the job is done correctly.
Pro tip: Take a clear smartphone photo of the existing hardware before removal to help you find an exact replacement match.
Compare how different maintenance actions benefit the longevity and performance of sliding doors:
| Maintenance Action | Key Benefit | Recommended Frequency |
|---|---|---|
| Clean tracks/panels | Prevents debris-related damage | Monthly |
| Adjust alignment | Prevents uneven wear | As needed when issues detected |
| Replace hardware | Maintains safety and reliability | Annually or as wear occurs |
Elevate Your Sliding Door Experience with Expert Craftsmanship
Maintaining sliding doors requires careful attention to cleaning, lubrication, and hardware care to ensure smooth function and lasting beauty. If you want sliding doors that not only perform flawlessly but also add unique charm and security to your home, explore our collection of custom wooden sliding doors that combine superior craftsmanship with durable design. From precision-engineered rollers to elegant wooden panels, our solutions address the very maintenance challenges discussed in this guide.
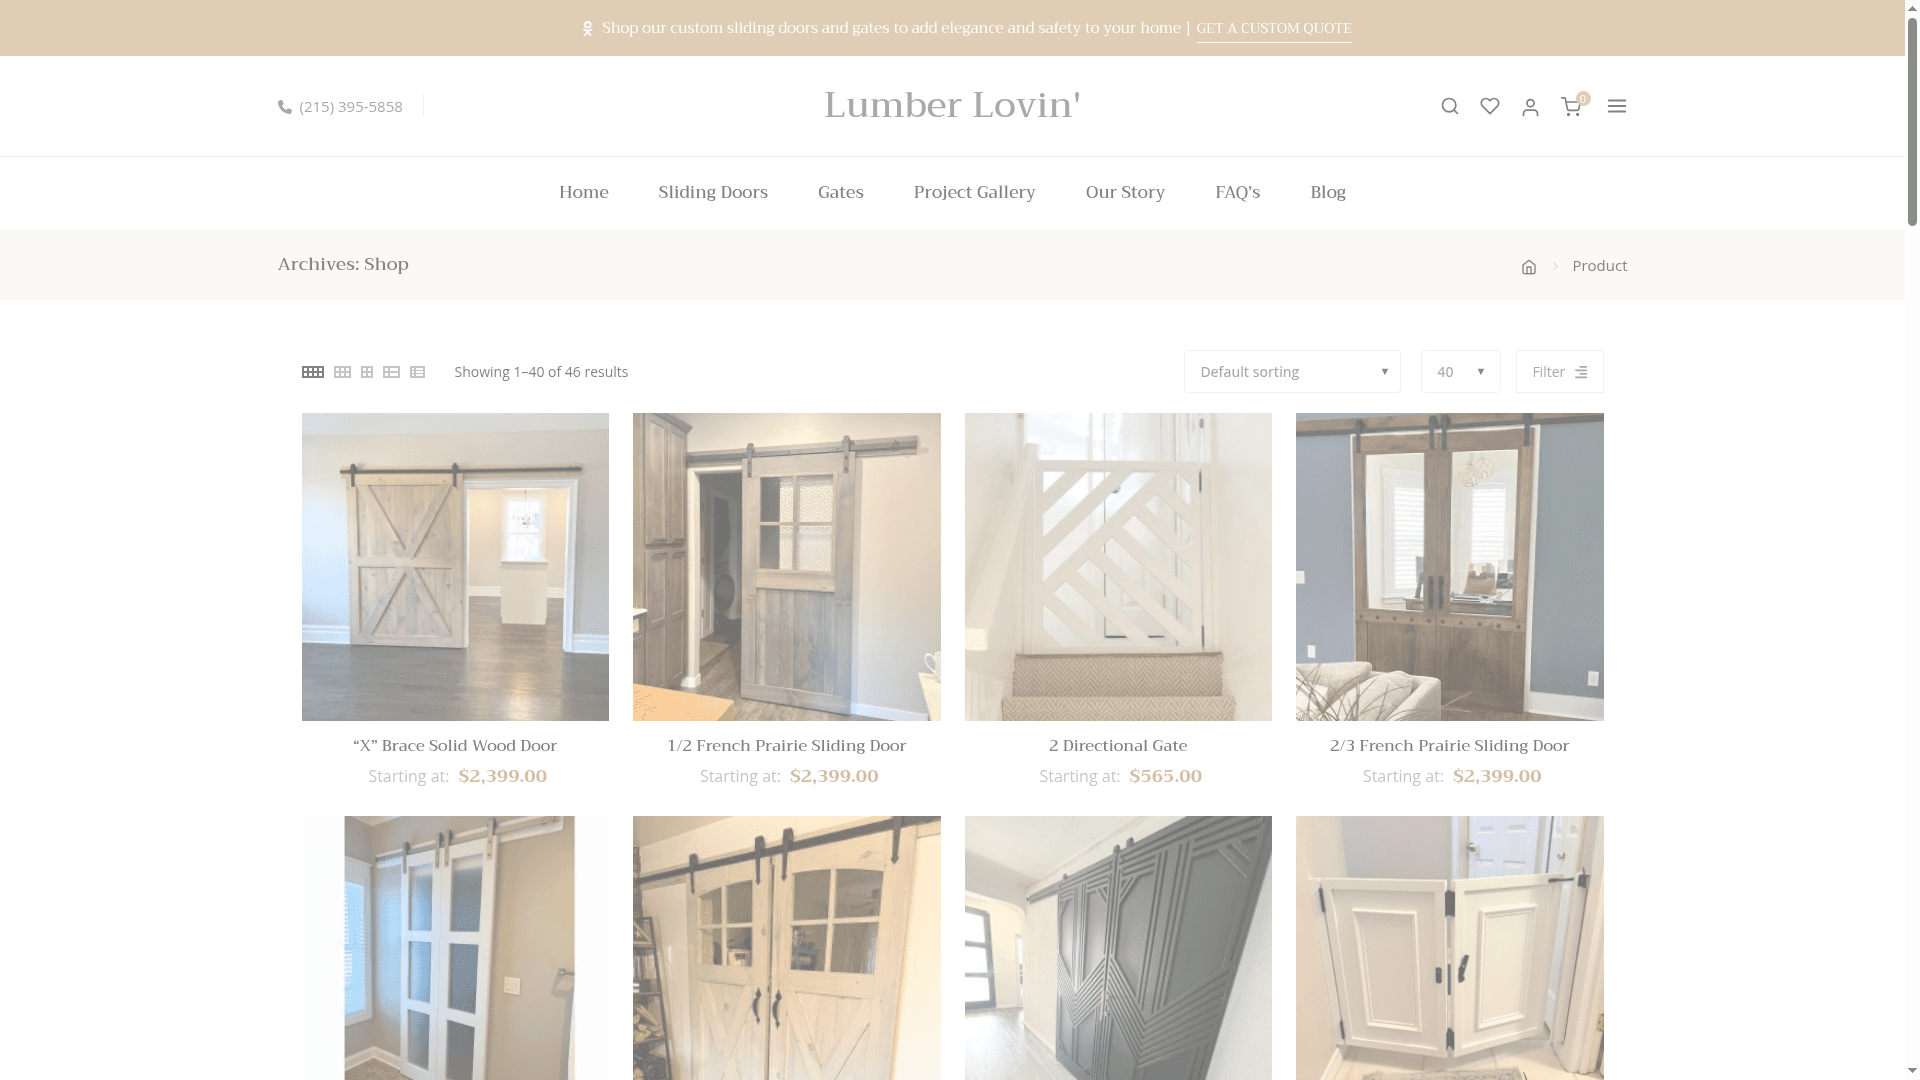
Discover how a handcrafted wooden sliding door from Lumber Lovin’ can reduce frequent fixing and enhance your home’s aesthetic appeal. Visit the Craft Chronicles – Lumber Lovin’ for inspiring stories about our artisan approach, and browse our full selection at Lumber Lovin’ Shop to find the perfect door tailored for your home. Take action today to invest in a premium sliding door that delivers effortless operation and enduring style.
Frequently Asked Questions
How often should I clean my sliding door tracks and panels?
Cleaning your sliding door tracks and panels should be done monthly. This regular maintenance prevents dust buildup and ensures smooth operation, reducing the need for extensive repairs later.
How can I adjust the alignment of my sliding door?
To adjust your sliding door alignment, locate the adjustment screws near the rollers and make small quarter-turn adjustments. Open and close the door after each change to ensure it slides smoothly without binding or resistance.
When should I replace the hardware on my sliding door?
Inspect the hardware on your sliding door annually or whenever you notice wear and tear. Replace worn components, such as rollers or track guides, immediately to maintain safety and functionality.
What tools do I need for sliding door maintenance?
Essential tools for sliding door maintenance include microfiber cloths, mild glass cleaner, lubricants, screwdrivers, and replacement rollers. Assemble these tools in a dedicated toolbox for easy access during routine maintenance.
Why is it important to perform regular maintenance on sliding doors?
Regular maintenance of sliding doors is crucial for preventing damage and extending their lifespan. By cleaning, lubricating, and adjusting the doors, you can ensure smooth operation and avoid costly repairs down the line.